
Earlier, I had posted a tutorial on how to create a virtual hard disk. If you know me well, you probably have not read it because (blah blah blah, add at least two paragraphs of whining… I could take the time to actually write them but that is unnecessay delay. The point is you suck!)
Anyway, let us recap the purpose of a VHD. A Virtual Hard Disk is a file that could, with the help of supporting software, emulate the behaviour of a physical hard disk. They’re of three types – fixed, which means the VHD file should be smaller than the physical harddisk partition it is stored on; incremental, where changes made per session are stored in separate files and the files might well be greater in size put together than the stated capacity of the VHD; and finally, expandable, which expands as more data is added with an upper limit equal to the stated size of the VHD.
What we’re going to do here is not only create a general purpose virtual hard disk but we’ll be booting from it too. This process has been possible since Windows 7. I have already made a video of installing Windows 8 on VHDs. For Windows 7 let’s make it a traditional pic-n-text tutorial.
Unlike the way we did with Windows 8, we’ll do this from the usual environment of Windows 7 we’re most certainly familiar with.
Creating the virtual hard disk
1. Open command prompt as an administrator. Reconsider the rest if you cannot figure out how it’s done.
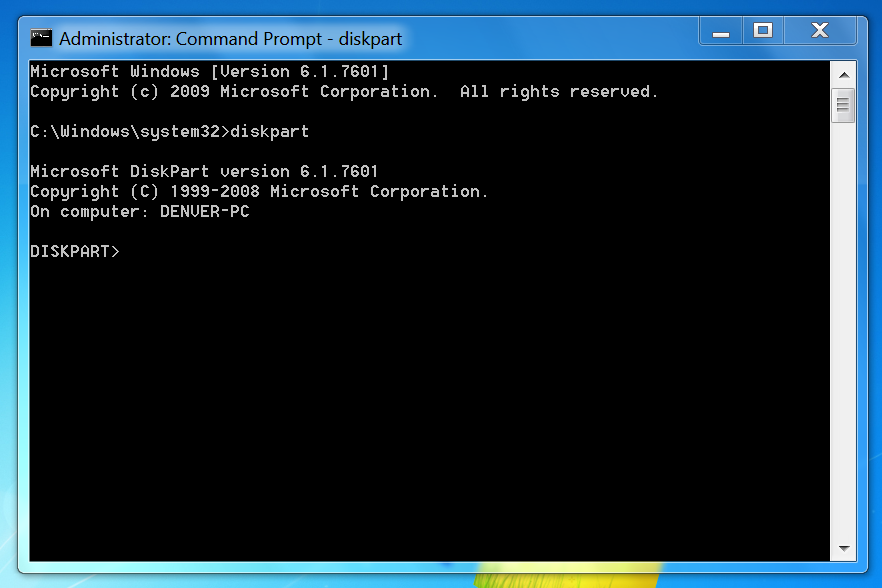
Type diskpart to start the diskpart prompt.
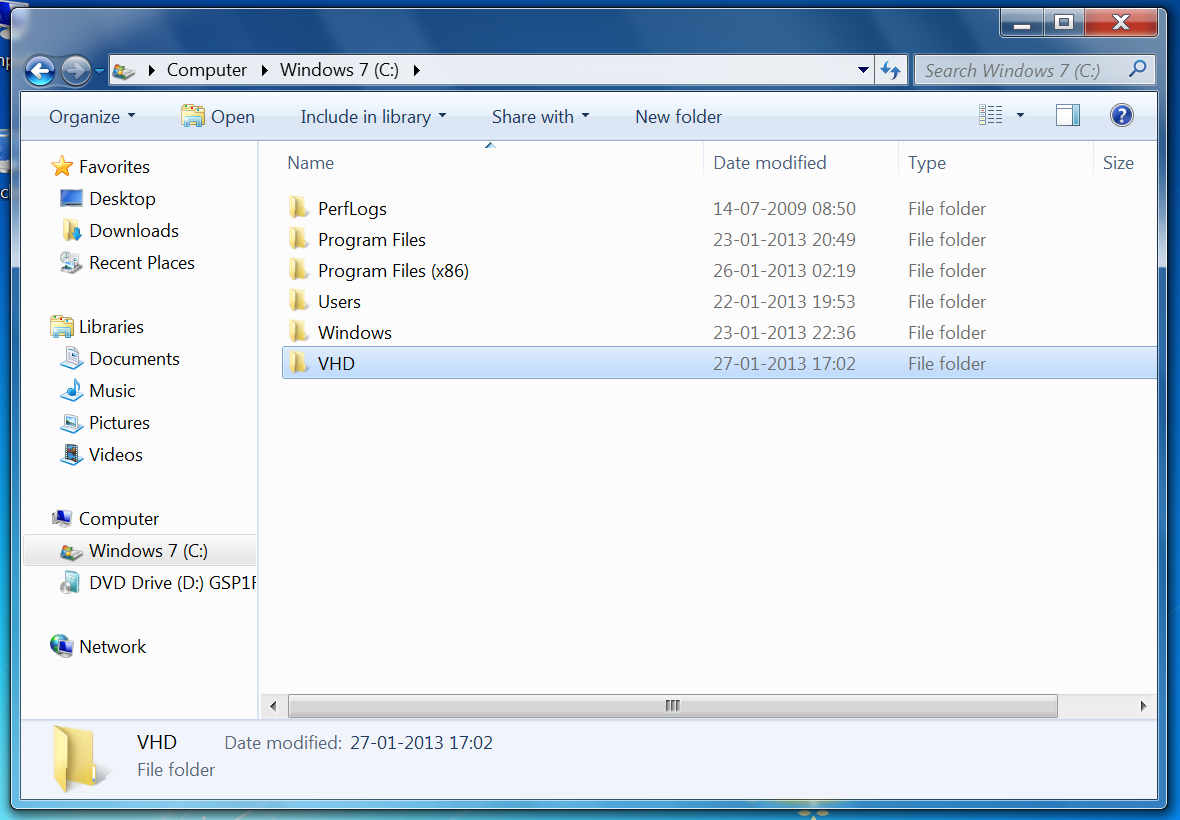
2. Create a folder in the place you want the VHD to be.
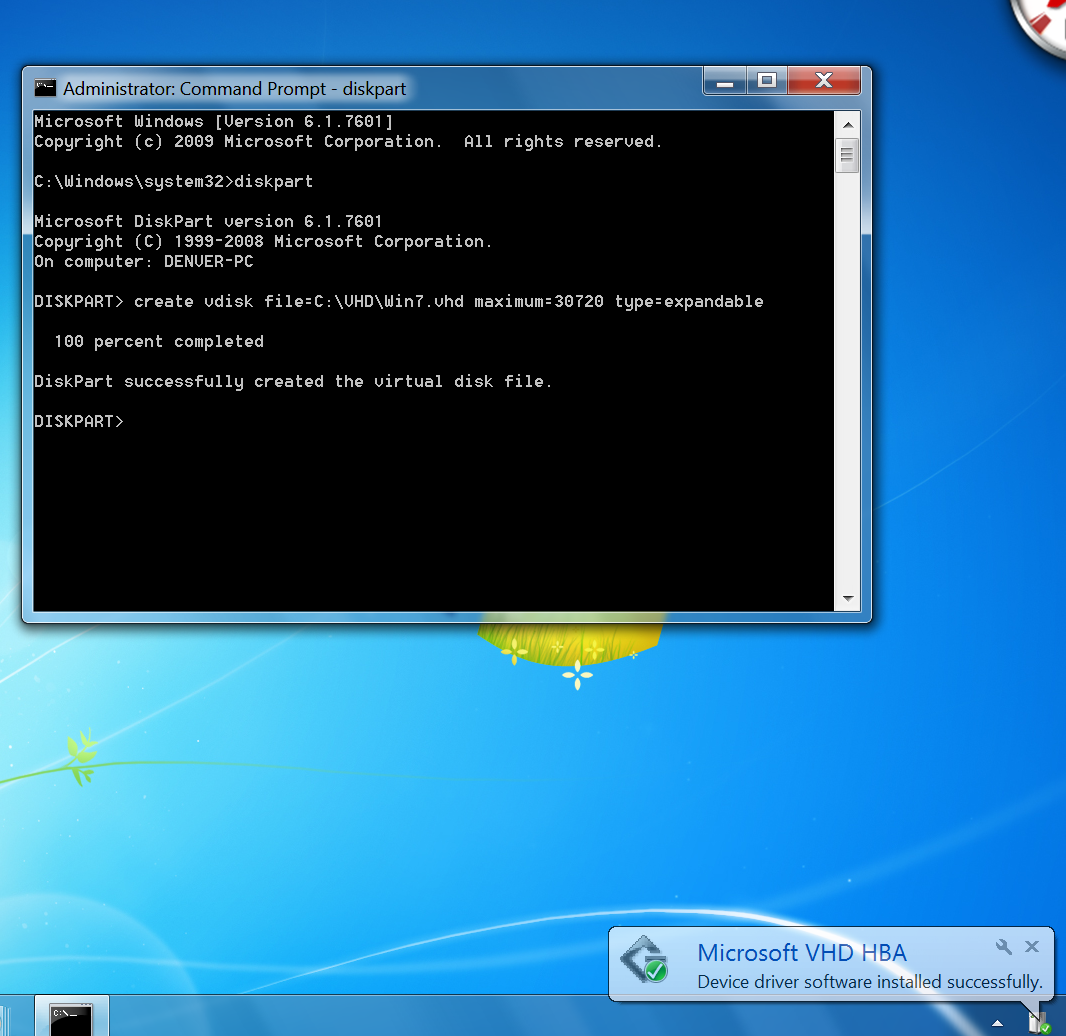
3. Create the VHD. This is done using the create command.
create vdisk file=C:VHDWin7.vhd maximum=30720 type=expandable
The location and name of the file could be customised to whatever you like. The maximum size is in MiBs so this examples translates to 30GiB. I’ve set it up as expandable but that’s just to speed up the creation process. I recommend fixed if you want it for keeps.
Customising the virtual drive
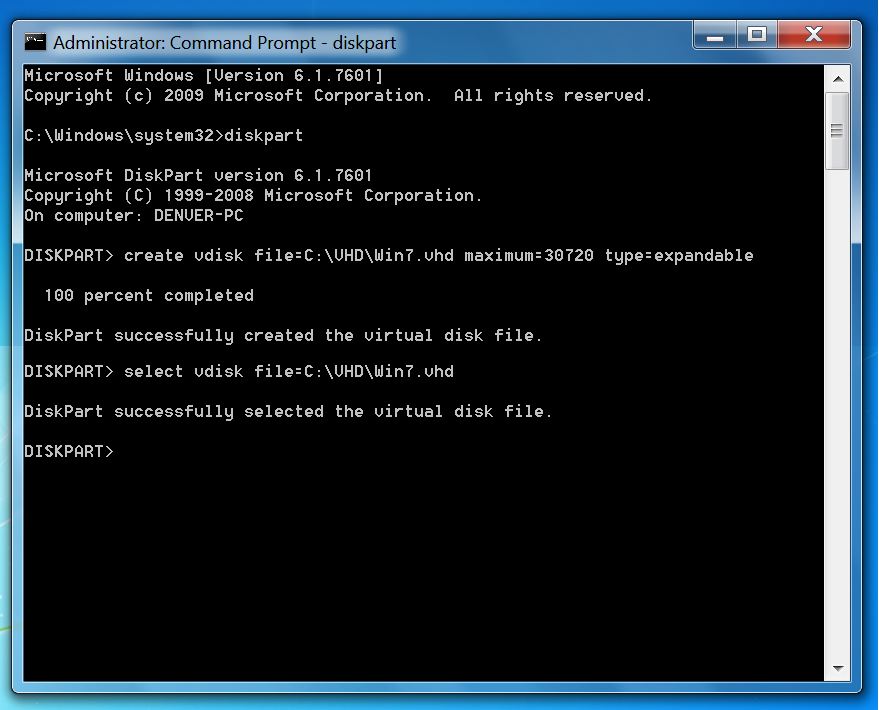
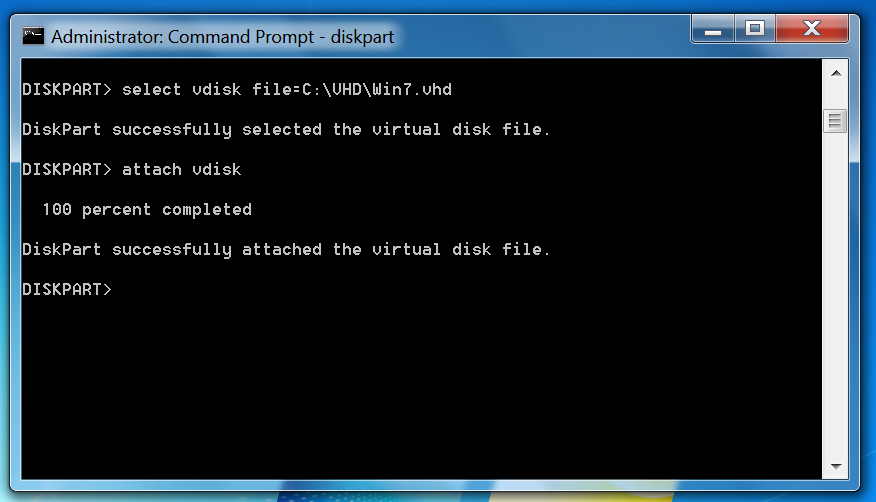
4. Now, you select the VHD you just created.
select vdisk file=C:VHDWin7.vhd
5. Attach the VHD.
attach vdisk
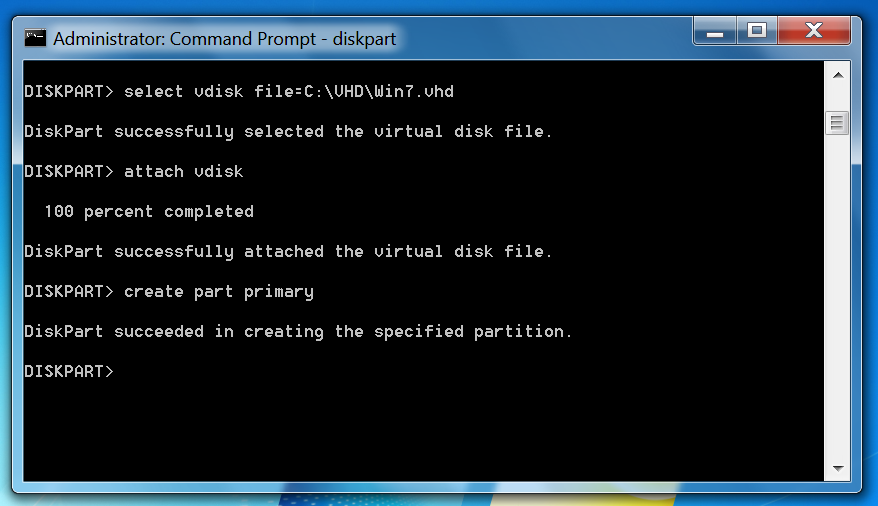
6. Create a primary partition. You cannot do this in Computer Management; it has to be done via command. Not specifying parameters makes use of the whole VHD in one partition.
create partition primary
Tip:
DiskPart can understand shortened commands too. The above command could be written as cre part prim and it’ll still work. The trick is to shorten commands to only the extent to which it’s clearly understood which command you’re typing. active could be written as act and select as sel.
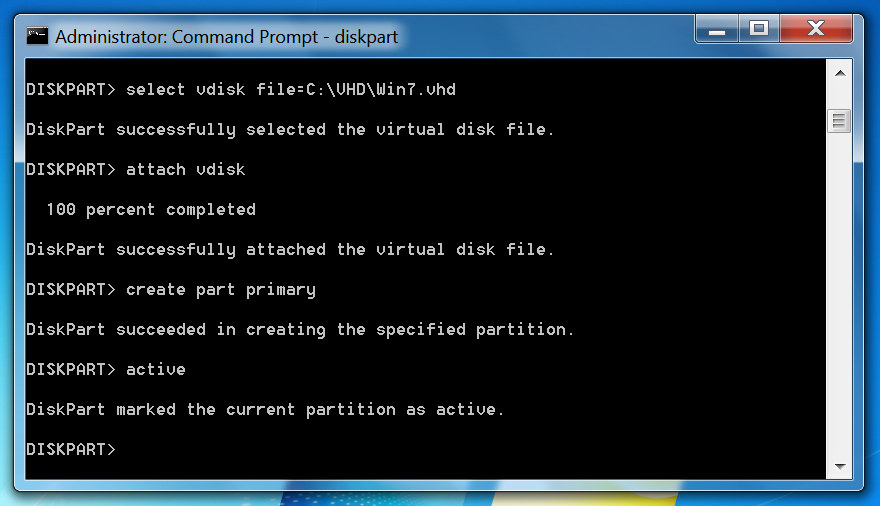
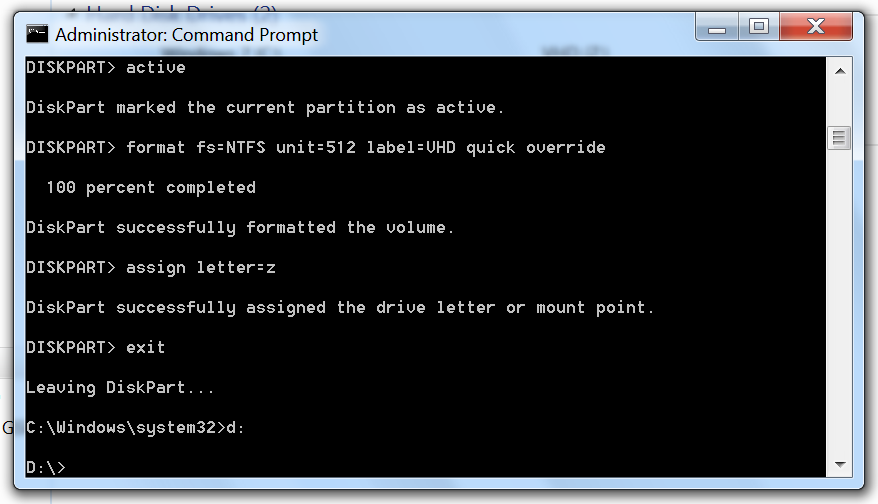
7. Activate the partition.
active
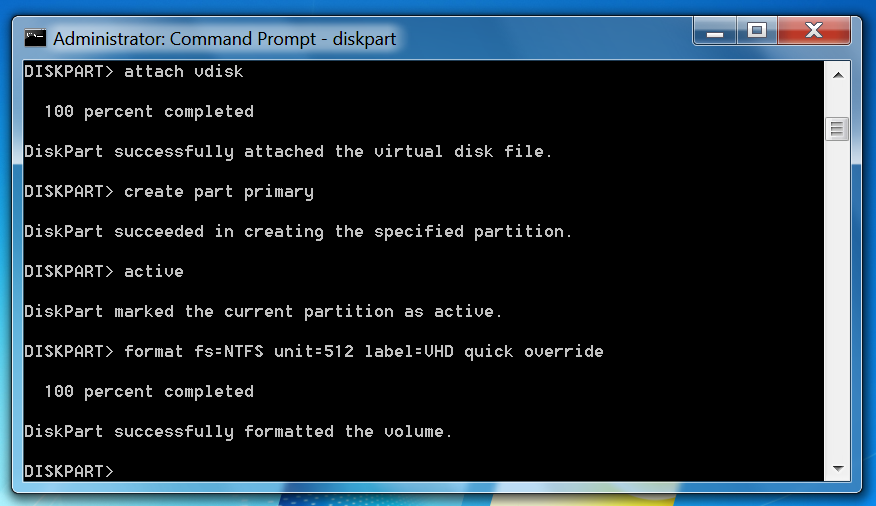
8. Format the partition.
format fs=NTFS unit=512 label=VHD quick override
9. Assign the partition a drive-letter
assign letter=z
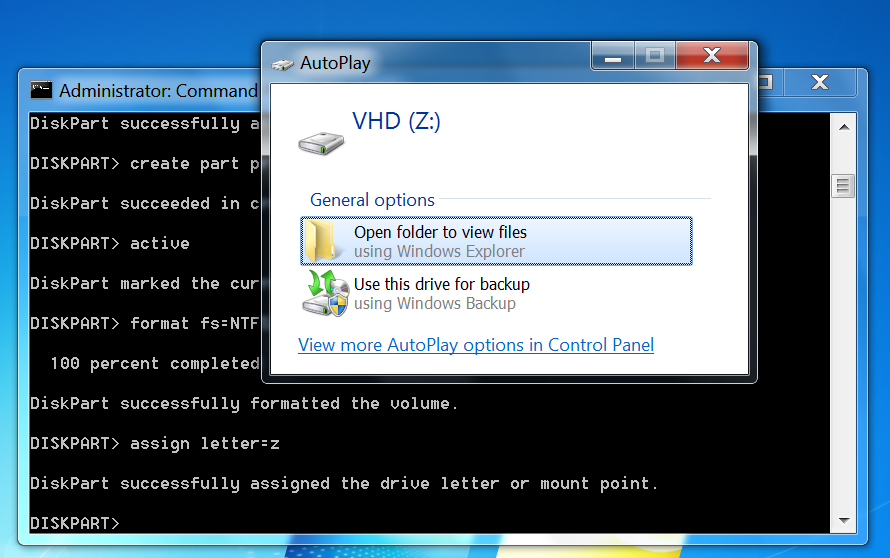
10. Leave the DiskPart prompt.
exit
Side-loading the installation
11. Open the file install.wim in the sources folder of the installation disk using 7-zip.
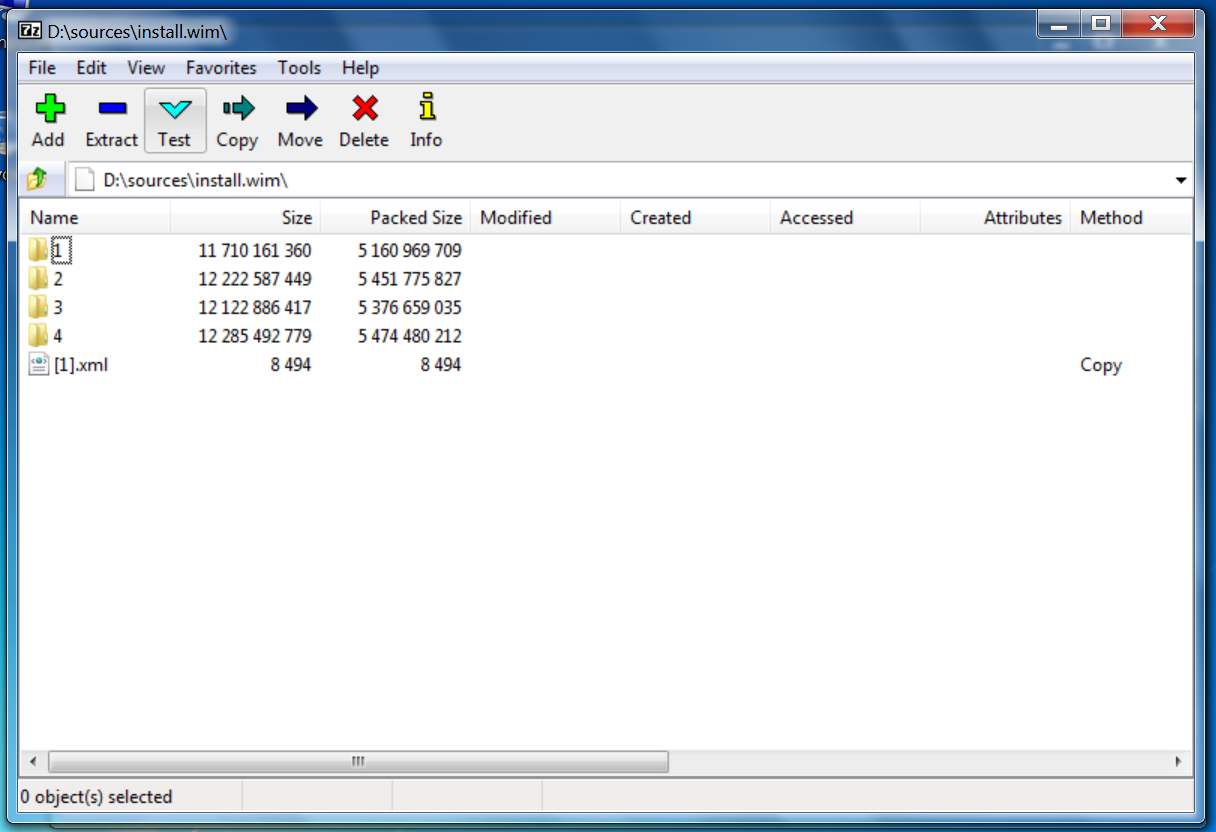
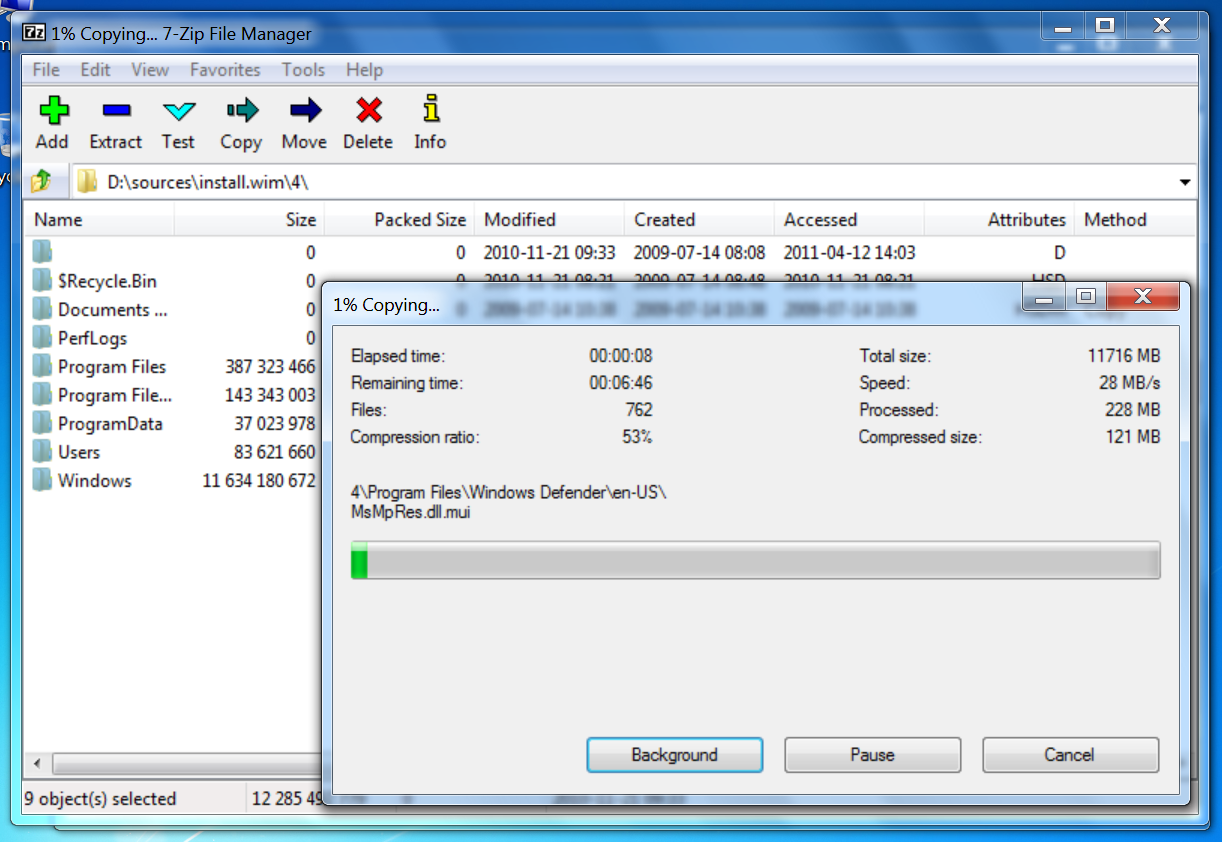
12. Decide which edition of Windows 7 you’d like to install on the virtual hard disk. You’ll need to feed in a product key to activate the copy later. Enter the right folder, select all the contents and ‘extract’ it to the VHD, in this case at the location Z:
Creation of boot-loader entry
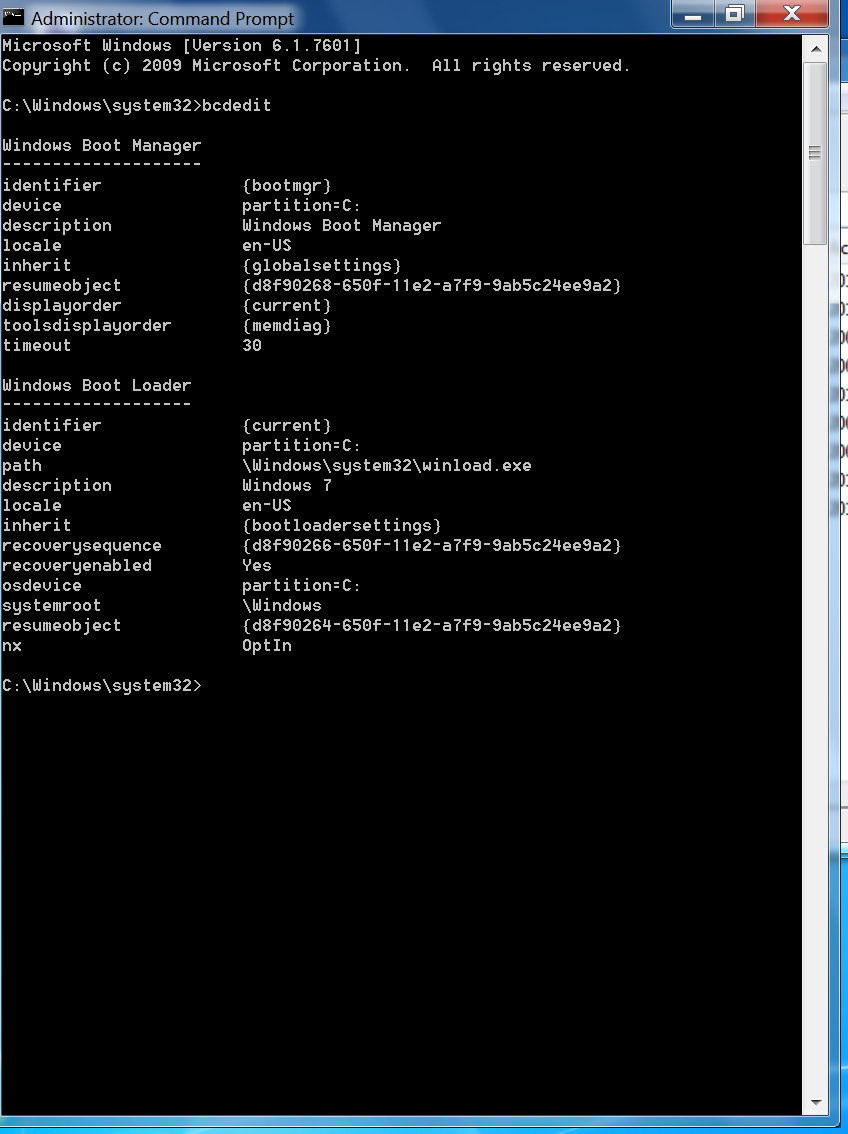
13. Open up another command prompt as an administrator. Check your boot-loader using BCD editor.
bcdedit
14. Create a new entry.
Do this by typing the following:
bcdedit /copy {current} /d “Windows 7 VHD”
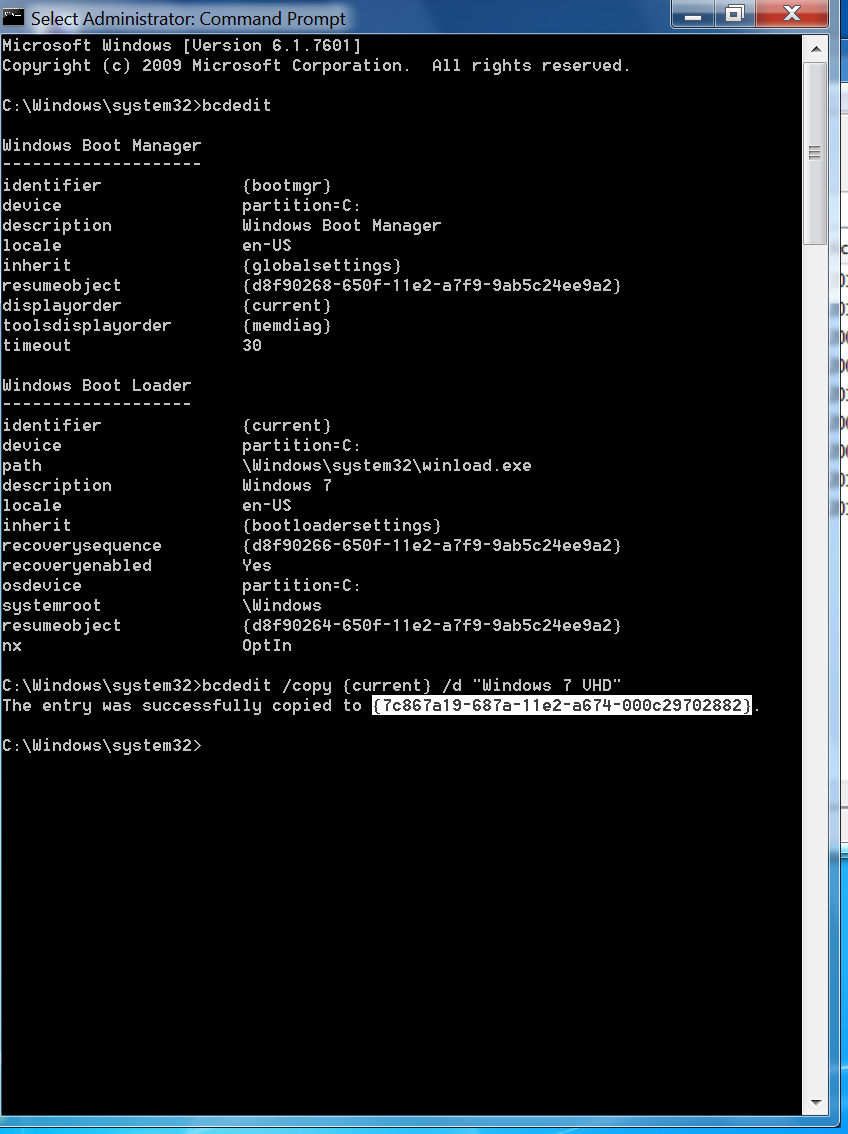
Once you’ve done this it’ll be nice to just copy the identifier string into the command prompt clipboard. Do that by right-clicking within the prompt window and selecting the string including the braces, then clicking the Return/Enter key. The above snippet is how it looks before you tap on Enter. The copied string speeds up the process. But for further instructions I’ll use {string} as the identifier.
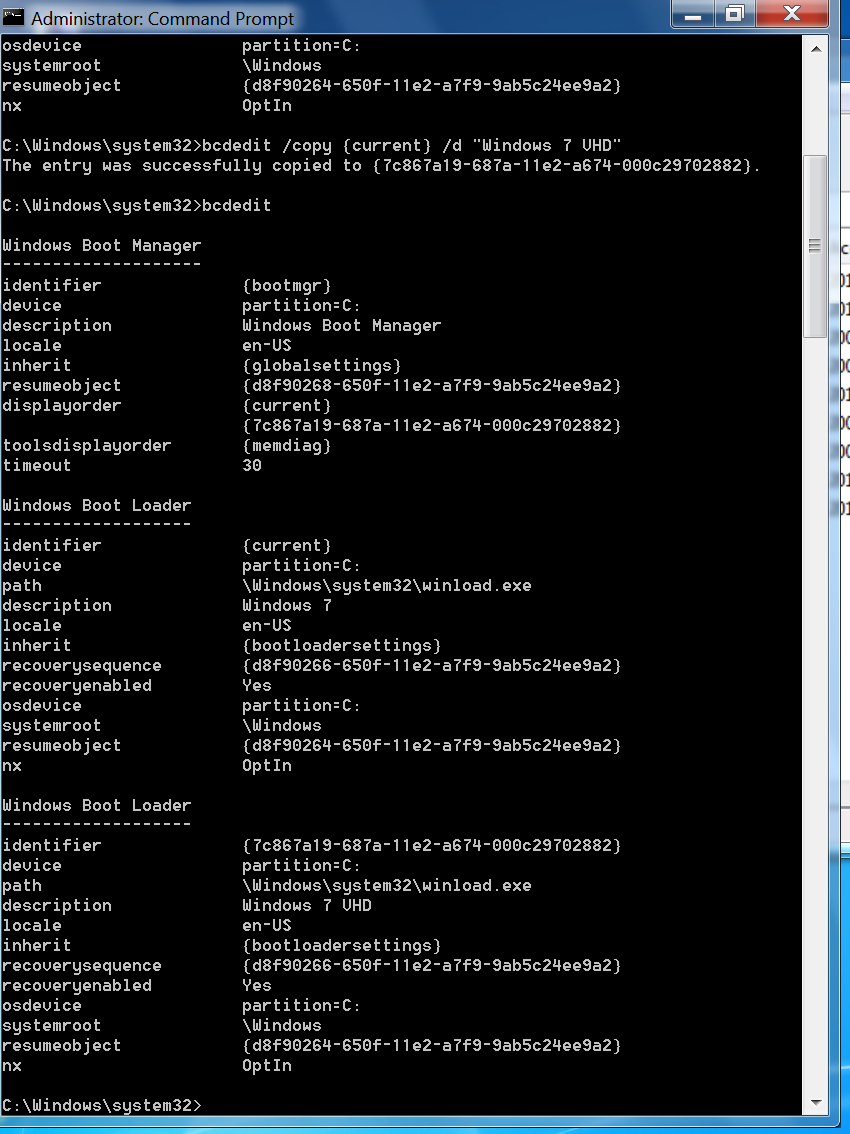
15. Check if the new entry has appeared in the boot-loader by typing bcdedit.
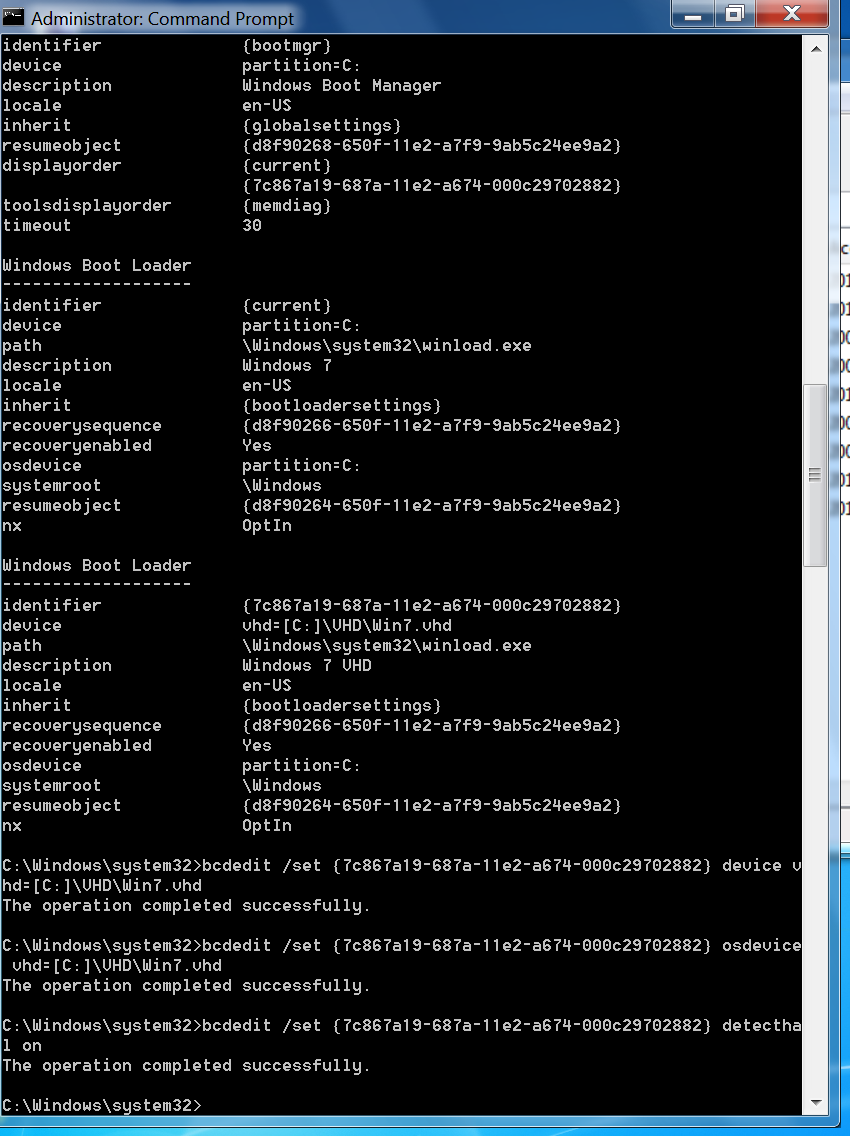
16. We’re going to feed in 3 commands now to change the parameters to properly boot from the VHD.
bcdedit /set {string} device vhd=[C:]VHDWin7.vhd
bcdedit /set {string} osdevice vhd=[C:]VHDWin7.vhd
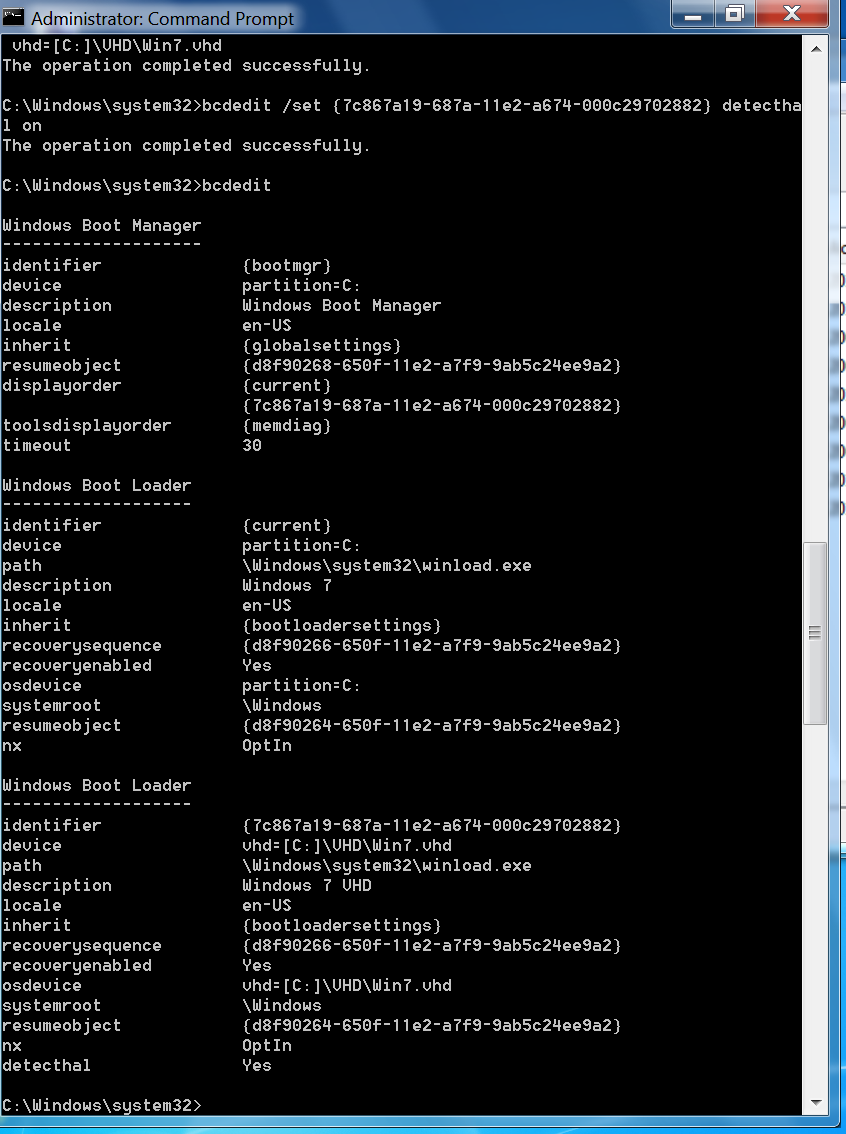
bcdedit /set {string} detecthal on
Here, we’re changing the device to boot from and the device the OS is in as the virtual hard disk. Setting the HAL detection makes this copy of Windows 7 installation aware of the fact that it is booting from a VHD.
Tip:
Use the correct string in place of {string}. The string you marked earlier can be pasted by right-clicking and selecting Paste.
Also, the first and second command are quite identical. Use the Up arrow key to reveal the previous command and add the “os” before “device”.
Verification
17. Check if all the changes have taken effect. It is always good to check that. You’ll find the relevant stuff updated to point to the VHD quite well.
bcdedit
That’s it!
All you need to do now is close the prompt and restart your computer.
When the computer reboots, it’ll show you a list of options to boot from including the new entry. Select the new entry for it to complete initial setup. This process essentially skips over all of the general setup routine and immediately takes you to the first boot process.
Advantages of virtual hard disk booting:
1. You can easily create as many of them as you need limited only by the physical space on your hard disk.
2. The VHD file is transferable to a different PC before the first setup. You can copy the disk and store it some place safe. If something happens to your VHD system, all you got to do is replace it with the copy of the original file and it’ll be good as new.
3. If you like how the setup at any given time is, the file can be saved as an insurance to possible future catastrophes.
4. Removing the drive letters from storage of your physical computer, you can literally isolate the environment for experiments and it does not affect your main system in the slightest.
5. With a large enough flash drive, the initial setup could be made mobile. However, once setup that machine will only boot correctly on one PC. Still, good enough to have a backup fully functional system.
Disadvantages:
1. None other than Windows 7 and Windows 8 along with their server counterparts can natively boot from virtual hard disks. There have been instances of Ubuntu doing it, but in reality the OS isn’t aware of it. The boot loader of Ubuntu, creates a safe environment for it to boot in as a normal system with reduced functionality – it’s basically running in an emulator.
2. System performance will drop by 3%; that is just the read-write performance. Everything else will perform just as normally as they do. Not at all problematic, but this will not allow a system performance rating.
I guess that’s it. So my true sequel to Windows 7 – a feature that caught my eye is complete after all this time. It’s quite weird to do a video on Windows 8 virtual hard disk installation and in a few days get back to Windows 7, but better late than never.
Birthdays are just days. It shouldn’t mean anything special. Help me prove it by buying me stuff on basically any day. Click on Buy me stuff up top for more details.