
macOS Big Sur is currently the latest version of macOS, here are the steps to create a bootable USB installer for it.
A USB installer can be used for clean installs, upgrades and reducing the steps to do these on multiple Macs.
What you will need?
- You need a thumb drive that has at least 14 GB of disk space, this means your thumb drive must at least be 16 GB or higher.
- A copy of macOS Big Sur.
Getting macOS Big Sur from the App Store.
Open App Store.
Search for “Big Sur”.
Choose Big Sur.
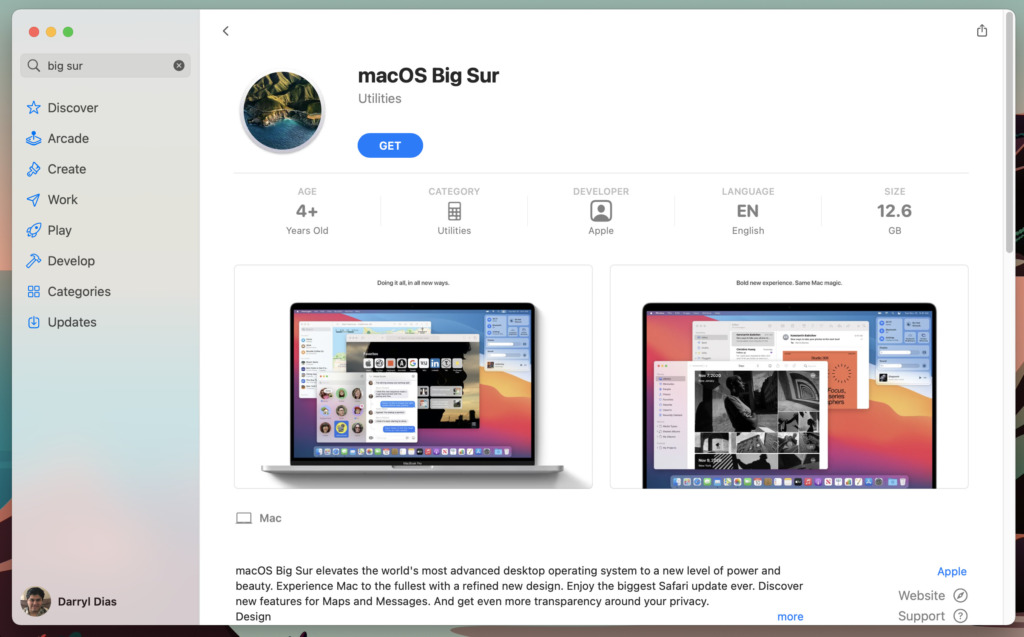
Press GET. This will open Software Update section of System Preferences on your Mac and look for the update download option.
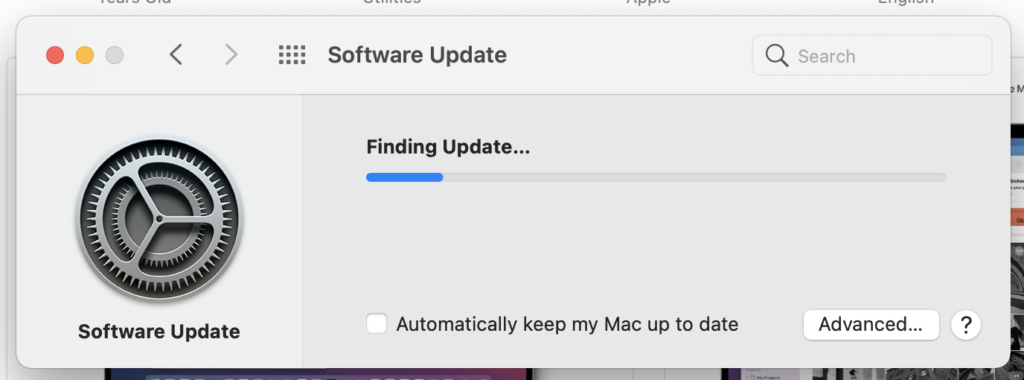
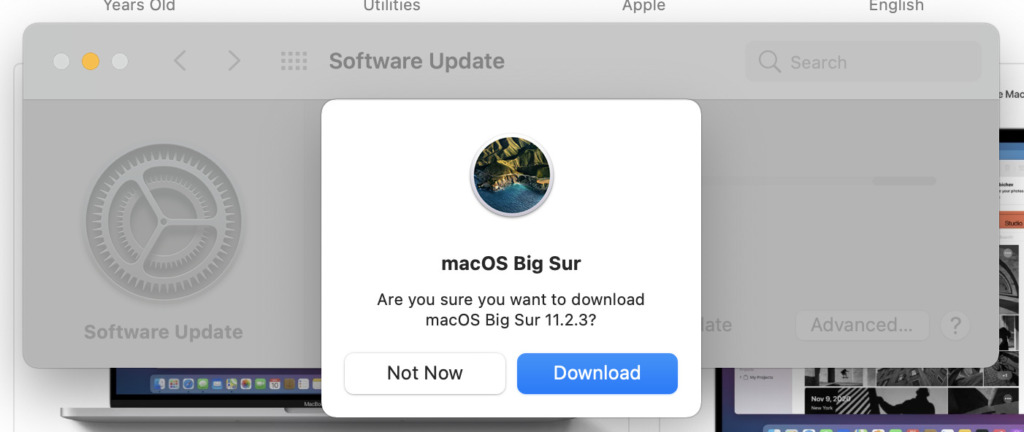
Choose Download.
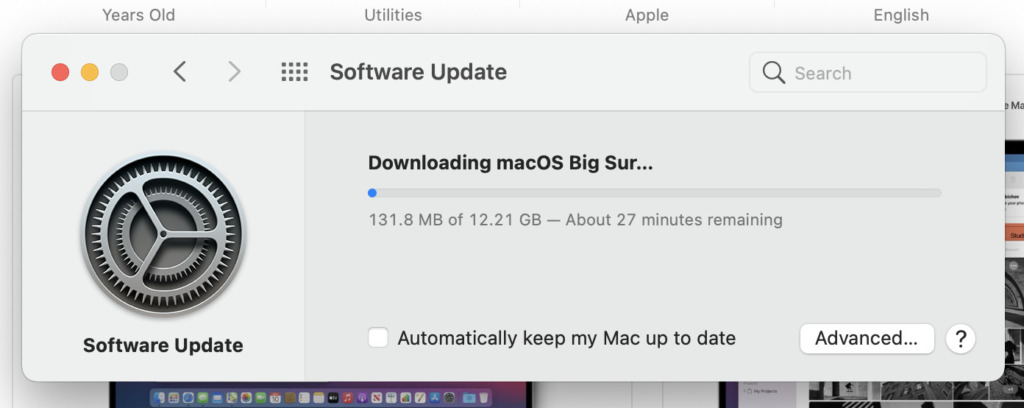
Once the download is complete. Install macOS Big Sur Big open.
You don’t need the application open; this process will be done using Terminal.
Plug in the USB (if you have important data on this thumb drive, make a backup of it, as this process will completely wipe it and convert it into a USB installer).
Open Terminal.
Enter the command below, and change MyVolume to the name of the USB
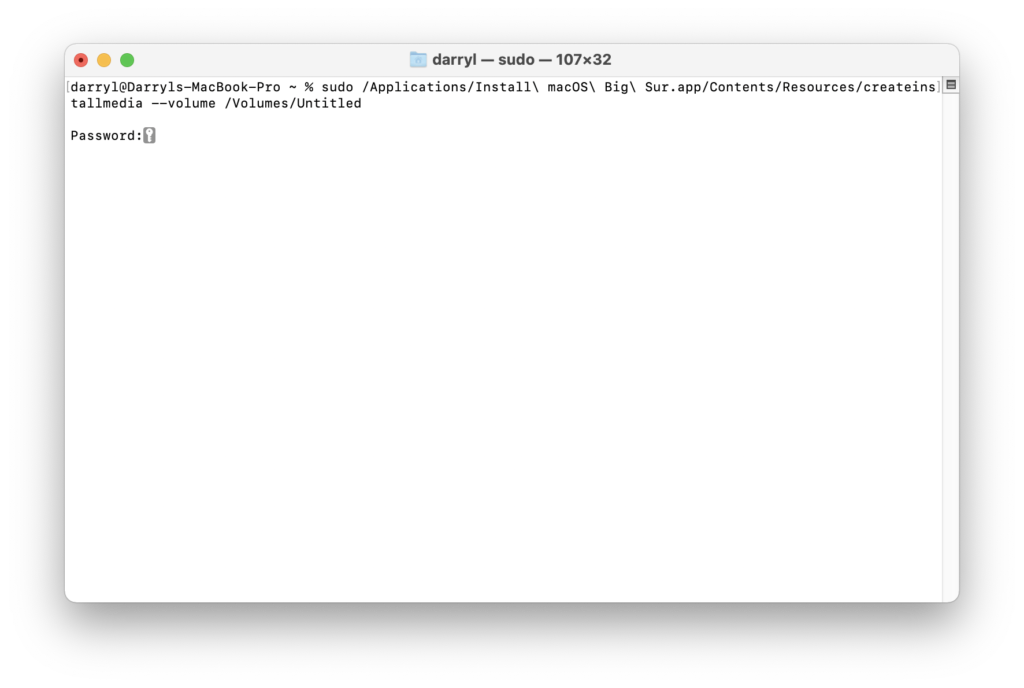
sudo /Applications/Install\ macOS\ Big\ Sur.app/Contents/Resources/createinstallmedia --volume /Volumes/MyVolume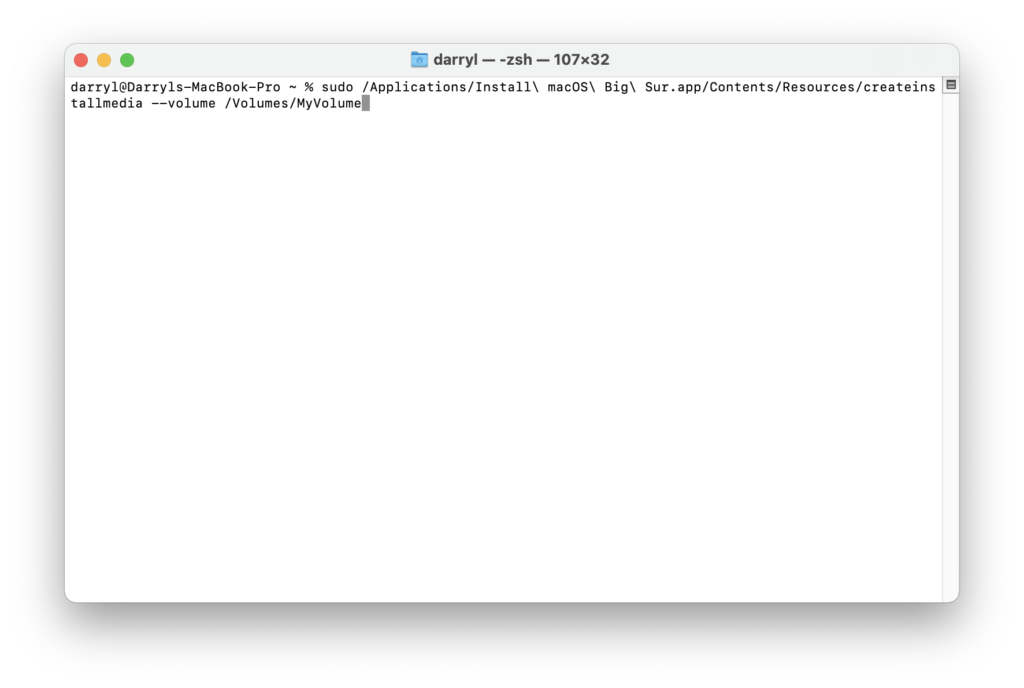
In my case the USB was named Untitled. So, the command would look like the one below:
sudo /Applications/Install\ macOS\ Big\ Sur.app/Contents/Resources/createinstallmedia --volume /Volumes/Untiled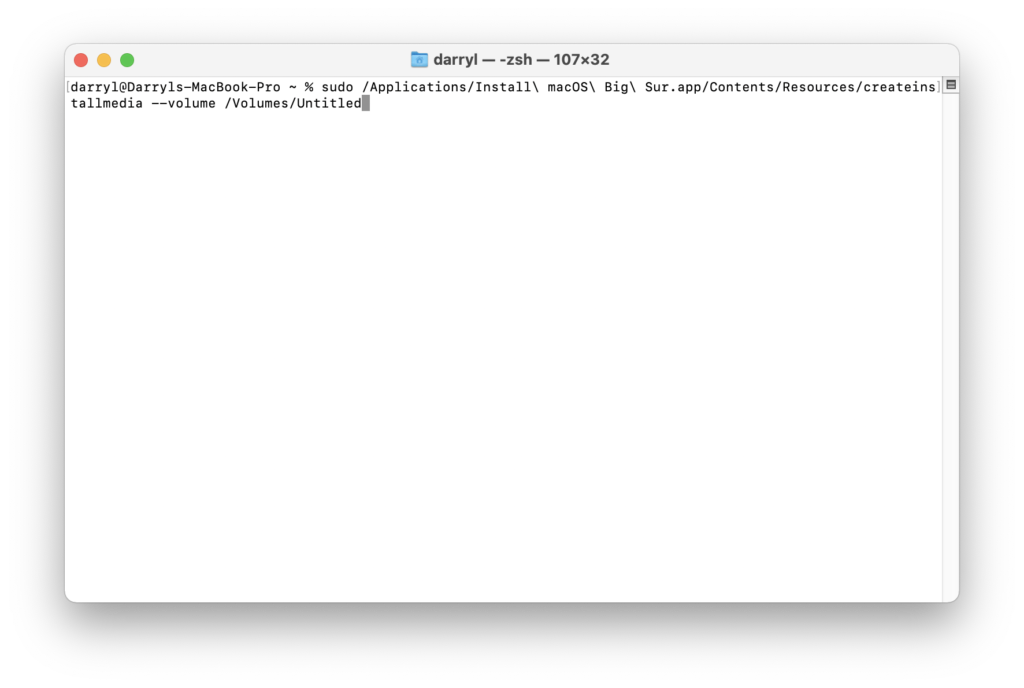
Now press enter. The next prompt will ask to provide the password (The one you use to log in or the administrator password)
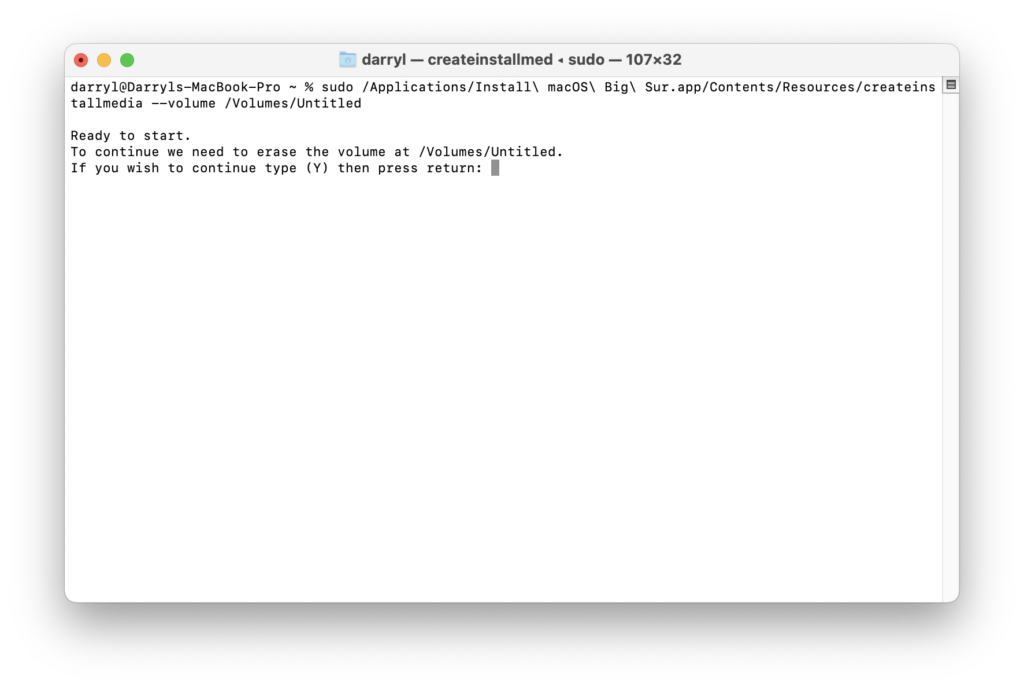
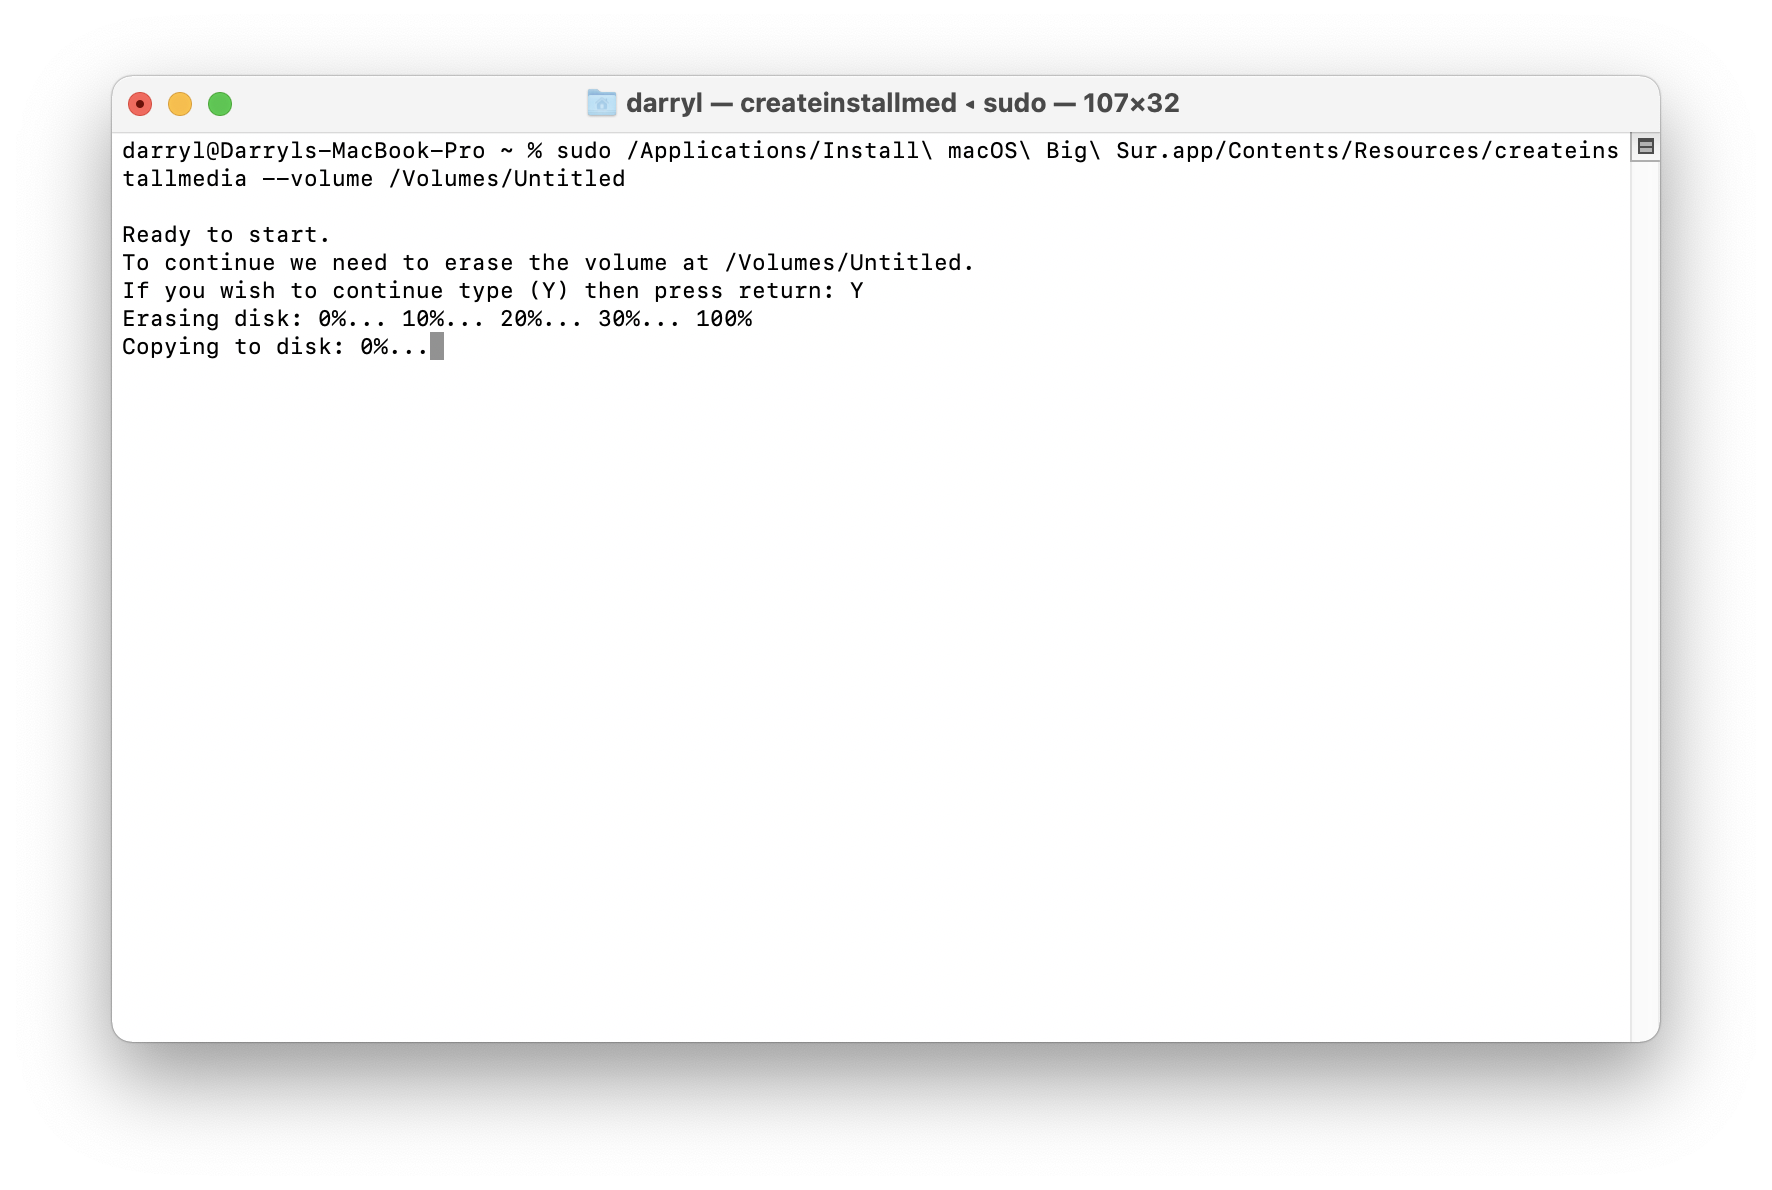
After the successful entry of password, the createinstallmedia executable will ask you to confirm, press Y (for yes). This will wipe the thumb drive and start the process of converting the thumb drive into the installer.
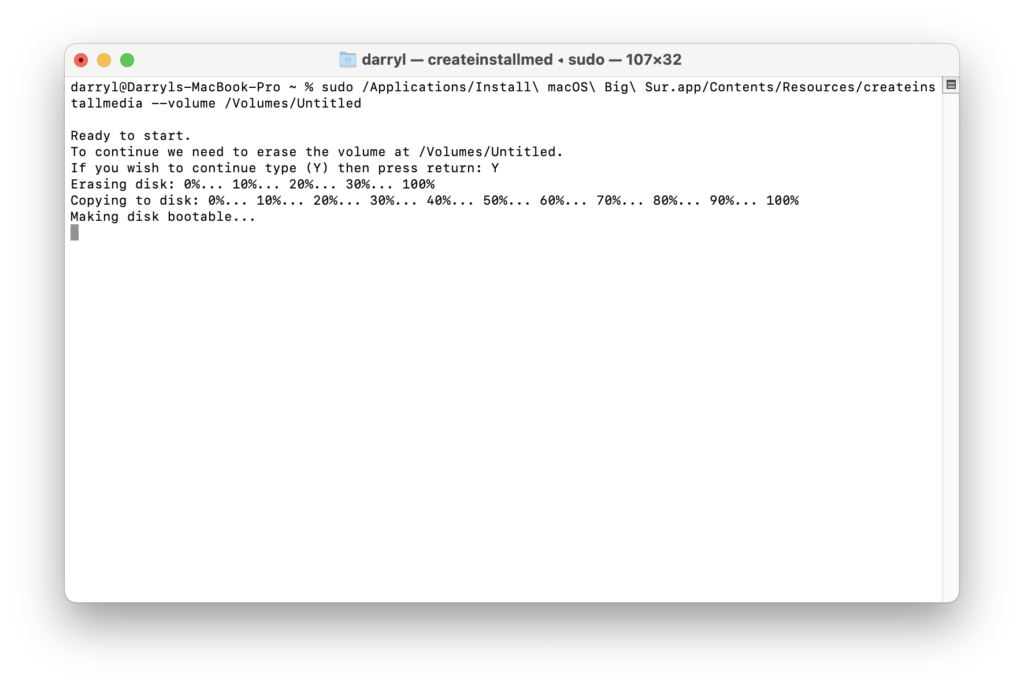
Once this process is complete, it should mount the thumb drive with the name “Install macOS Big Sur”
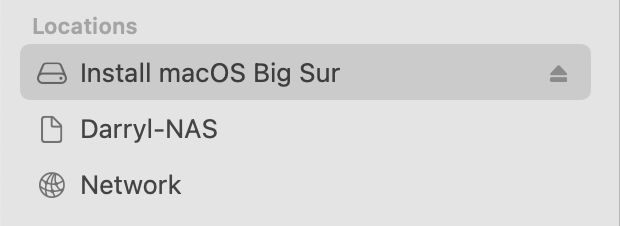
Now you can plug this thumb drive into a Mac and boot into the USB to install macOS Big Sur on that Mac.
That’s it folks, you can discuss this topic further by leaving a comment below, or tweeting us at @RevRYL
