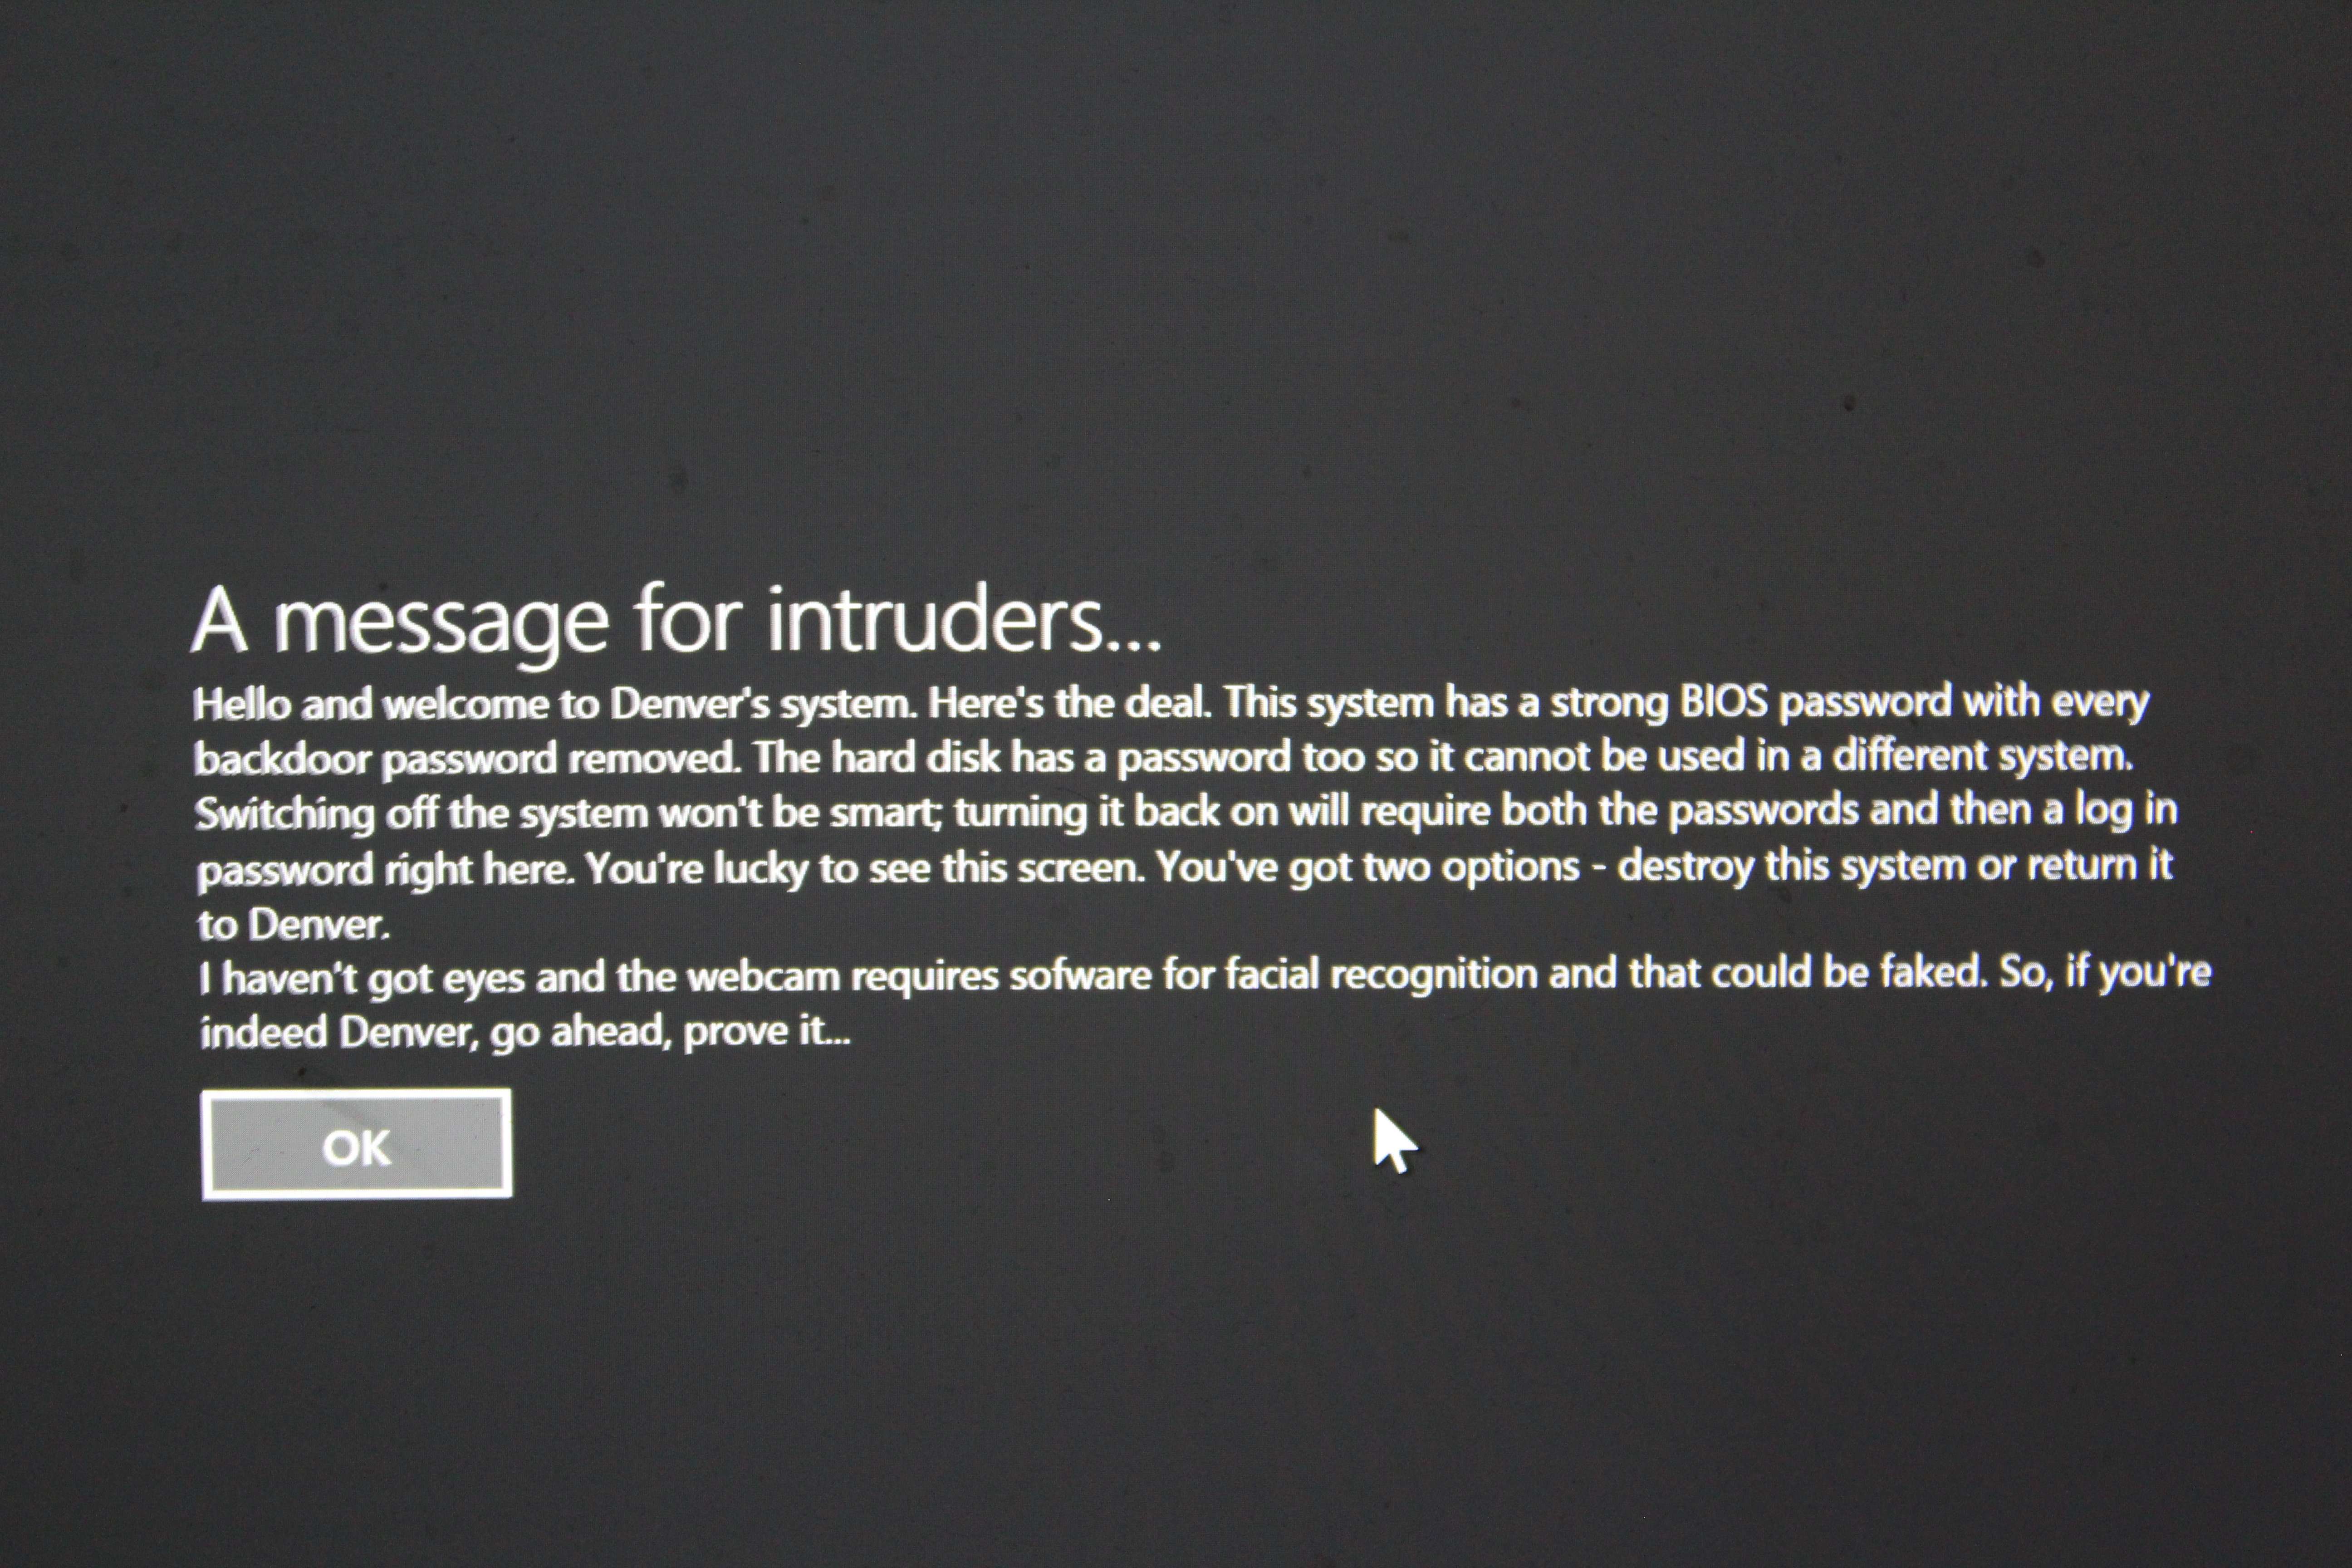
We don’t give much credit to Windows for all of the abilities it endows. Hidden features in Windows are rarely known because of the caution one exercises in keeping their system software from breaking down – something they believe too much meddling might cause. You’re lucky to have us, though. We meddle with our systems all the time and hardly do we fear losing important data – we back up, by the way. Good practice, this backing up thing. So, here we are tapping into our reserve to bring you a not-well-hidden and yet not-well-looked-for feature on Windows – the ability to have login warnings.
Windows allows one to display a warning to those who wish to log into a computer system. The warning may be as simple as a welcome message or as intimidating as what I’m about to show you.
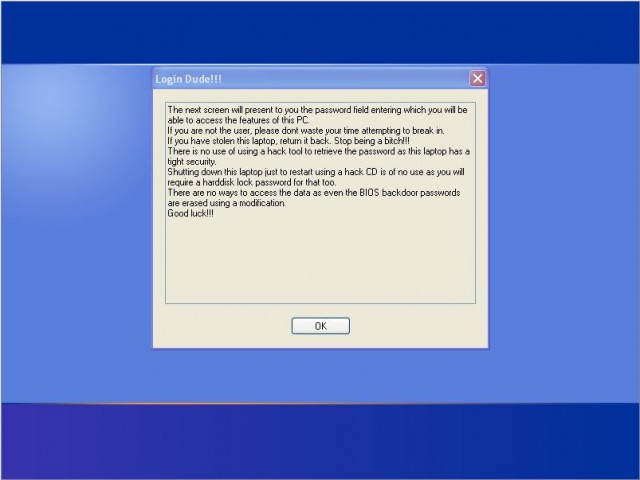
So, now you know that this can be done as far back as Windows XP. We will judge you for not being current, if you’re still on it, but we won’t prevent you from knowing how it’s done.
How to set up a login warning
As it turns out, it is pretty easy. Follow the steps enlisted and in under 5 minutes you’ll have a brand new warning to impress your friends.
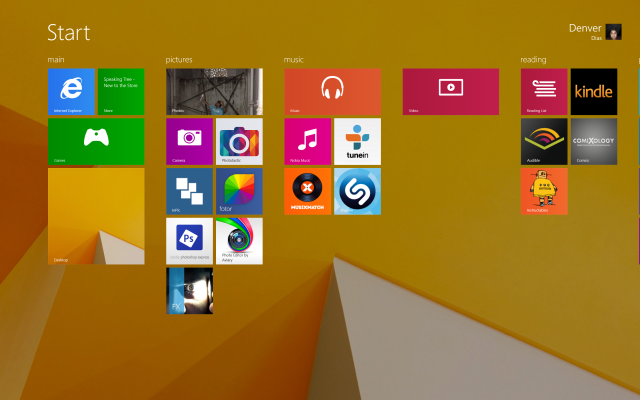
1. Invoke the Start menu/screen
Stop whatever you’re doing and get to the Start menu or the Start screen in Windows 8.
If you’re still on Windows XP click on “Run“.
2. Start the Local Group Policy Editor
In Windows XP, in the Run prompt, you have to enter exactly the following and Run it.
gpedit.msc
That is the command for the console for Group Policy Editor.
In Windows 7 or Windows 8, type “group policy” and click on the first result that appears.
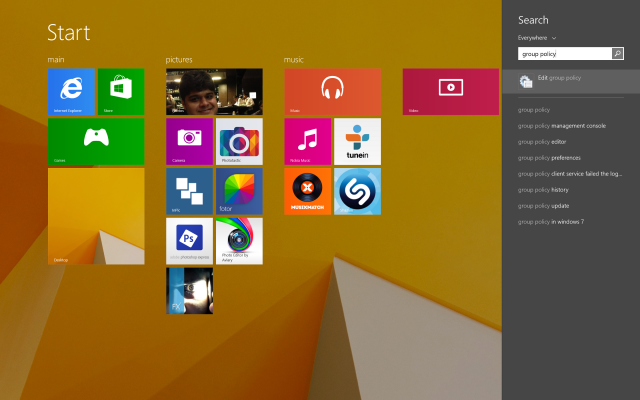
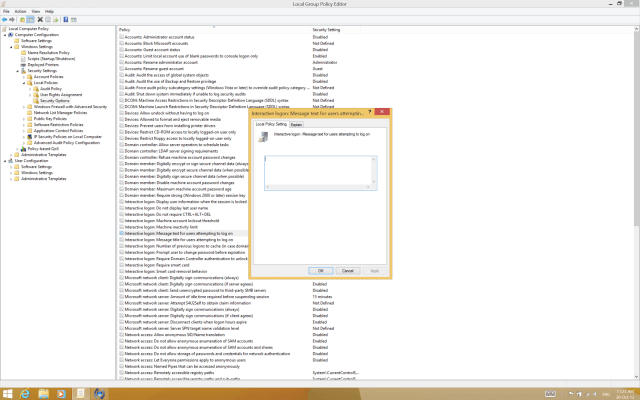
It will look something like so.
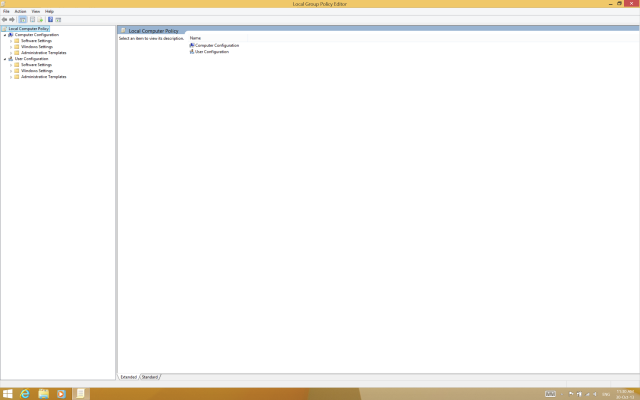
You can read more about the Group Policy Editor here.
3. Navigate to “Security Options”
Do this as follows.
- Drop down (expand) “Windows Settings” in the left side pane.
- In Windows Settings, drop down “Security Settings“.
- In there, drop down “Local Policies” and click on “Security Options“.
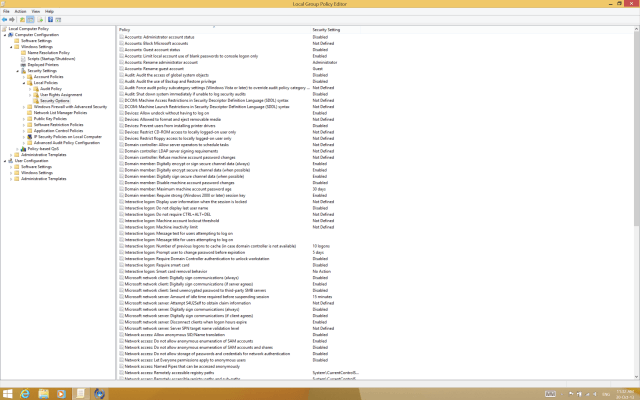
You’ll see a list of security “rules”.
4. Edit the rules
There are two rules you’ll need to edit, of which one is essential.
Edit the message text
Double-click the item on the list that reads “Interactive logon: Message text for users attempting to log on“.
In the prompt that appears fill in whatever login warning text content you wish. “Apply” it after a recheck and then proceed.
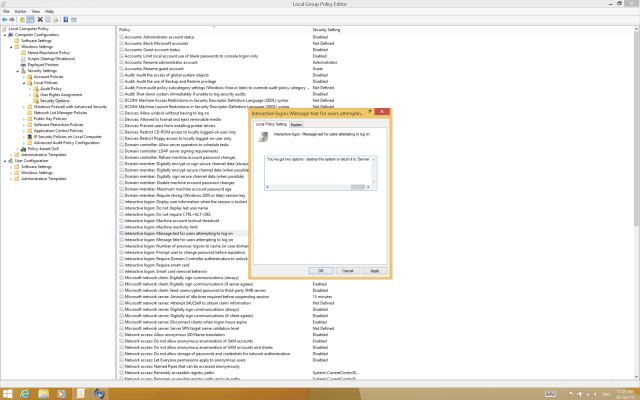
The following is not necessary as the message text appears despite it; it can be skipped. Still, if you wish to have a message title, go on.
Edit the message title
Double-click the item that reads “Interactive logon: Message title for users attempting to log on“.
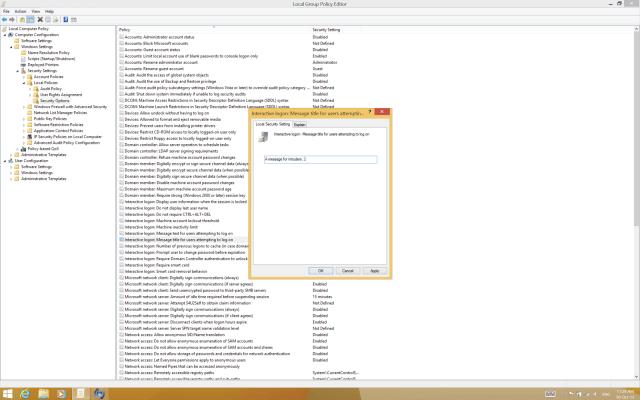
Enter the title you wish to add and “Apply” the changes.
5. Restart the system
The system needs to be restarted for the changes to take effect. On the next boot you’ll be greeted with a screen as so.
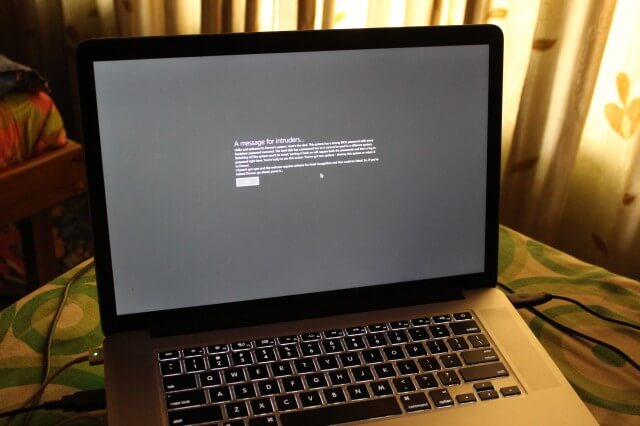
Let’s take a closer look.
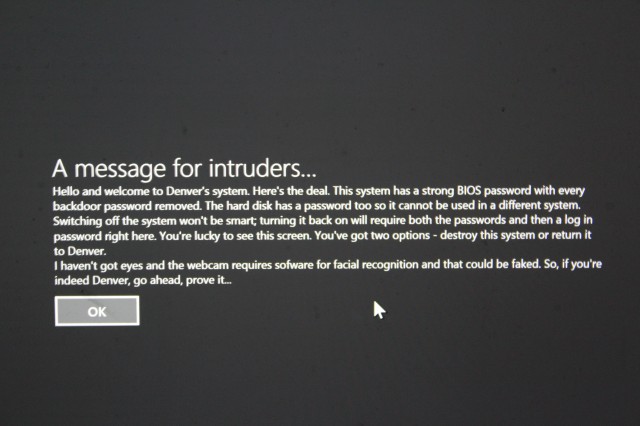
Once you tap/click on “OK” you’re free to progress on to a normal log on.

Tip:
This won’t work if you’ve not added an account password. Plus, won’t it just look silly if the intruder accepts a warning just to find out your system wasn’t really protected?
And here’s how it appears on Windows 7.

So, tell us if you liked/loved this new-old trick down in the comments. If you wish to know more on how to get things done, you can contact us by any means necessary that you can find us.
